Modding the Game Boy Advance SP 👾
Giving my 20 year old GBA SP console a second life
Show Table of Contents
History
The Game Boy Advance SP (GBA SP) was initially released by Nintendo 🍄 in 2003 (that's a little over two decades ago at the time of writing of this blog post 😱). It is part of the Game Boy product family. The GBA SP was introduced following the release of the previous model, the Game Boy Advance, as a revised version that included a backlit screen and a rechargeable battery. In terms of technical specifications, the console was shipped with a 32-bit 16.78 MHz CPU with embedded memory, 32 KB + 96 KB VRAM, 256 KB DRAM, and a 15-bit RGB screen (i.e. 2^15 = 32768 displayable colors) on a 240 x 160 pixels LCD screen1. Providing around 18h of autonomy (10h with backlight turned on), the GBA SP was compatible with nearly all Game Boy and Game Boy Color games2.
You can find the most relevant technical specifications of the console in the table shown below:
| Part | Specifications |
|---|---|
| CPU | 32-bit 16.78MHz |
| Memory | 32 KB + 96 KB VRAM, 256 KB DRAM |
| Color | 15-bit RGB (32768 colors) |
| Resolution | 240 x 160 pixels |
| Framerate | ~60Hz |
| Battery | 3.8V 600mAh |
| Autonomy | 18h (10h with backlight) |
| Dimensions | 84.6 x 82 x 24.3mm |
| Weight | 143g |
Modding the console
The console seemed to work as intended, with its functionality mostly intact, except for a few quirks — a testament to the normal wear and tear of time:
- Shell is partially melted and unrecoverable
- LCD screen is very dim and has a small crack
- Battery seems to be slightly bloated
- Sound is flaky
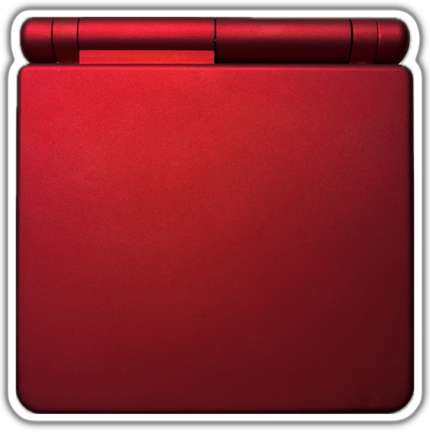
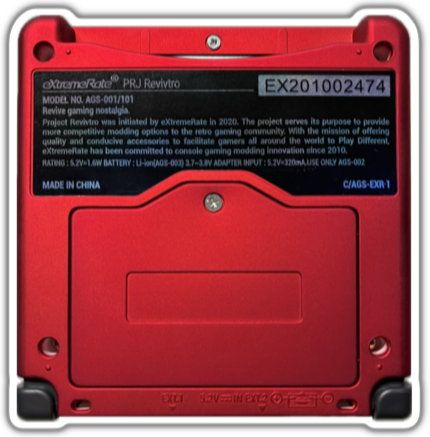
After assessing the degree of damage of each component, I decided to completely replace the shell and the rechargeable battery, as well as upgrading the screen to an IPS panel. Unfortunately, according to reviews and comments found in forums online, it seems that most third-party shells (i.e. not OEM shells) are not up to par with Nintendo's quality grade. After doing some research, I found out that eXtremeRate provides near-OEM quality and sturdiness so I jumped on it and got the Scarlet Red variant.
Disassembly
Proceeding with the disassembly of the GBA SP, I followed the official video guide provided by eXtremeRate. The most finicky part is the replacement of the LCD screen since the connecting cable is very sensitive and can be easily damaged. Applying excessive pressure to the screen itself can also render it irreversibly damaged.
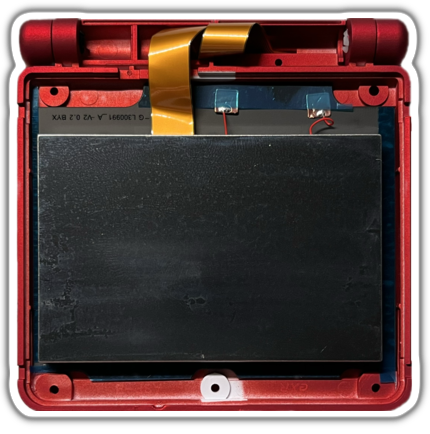
Once I disassembled the outer shell, the mainboard was exposed and I quickly noticed that there was a bit of corrosion (especially on the more exposed link cable and charging ports), as well as some dirt here and there (particularly on the rubber button pads). I tried to clean it as much as I possibly could with isopropyl alcohol 70% and a cotton swab. With regard to the sound issue I mentioned earlier, I also noticed that the speaker pins were a bit dirty so I cautiously used isopropyl alcohol 70% again with hopes that it would be sufficient to get a clear consistent sound output.

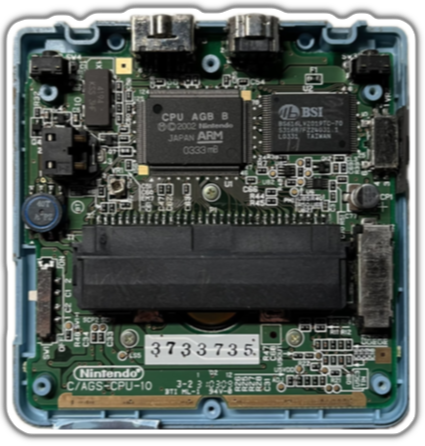
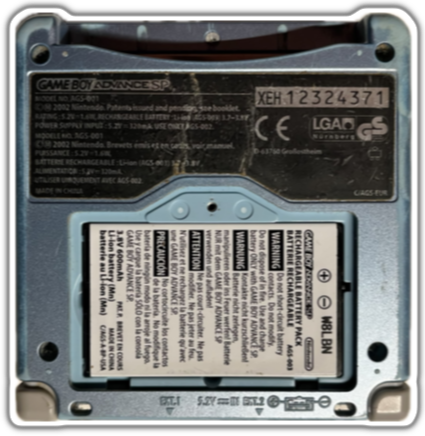
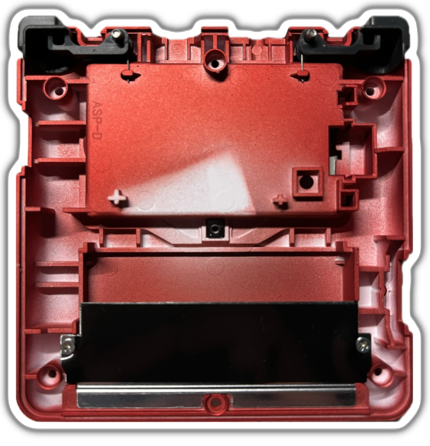
Top view of the shell, mainboard, and bottom view of the original shell.
Replacement
Once everything is properly disassembled and cleaned up, we essentially just need to put everything back together using a mix of new (shell, screen, and battery) and salvageable parts (mainboard and hinges). The trickiest part was to carefully fix the screen in the new shell and connecting it to the mainboard since the connecting cable has to make a turn on itself in order to fit in the space between the rotating hinges. Given that the cable is quite short and fragile, as well as the hefty price tag 💸, it was a bit of a stressful moment. Once the screen is successfully connected, we can add the remaining parts (speaker, buttons, button pads, etc.) and screw everything in place. Lastly, the OEM battery was replaced with a third-party 3.7V 850mAh rechargeable lithium-ion battery since the original one was slightly bloated (and 20 years old 🤷♂️).
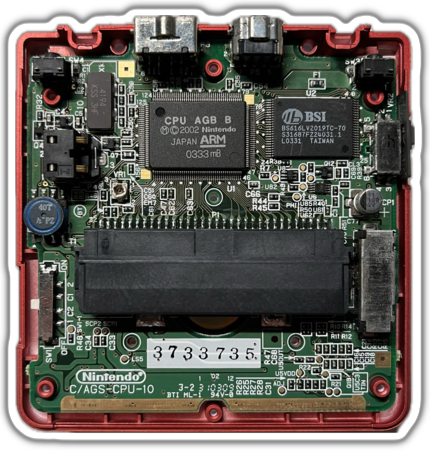
Top view of the shell, mainboard, and bottom view of the modded shell.
Parts
Here's a listing of the parts (and their respective cost) used to achieve this hobby project for future reference:
| Part | Cost |
|---|---|
| GBA SP IPS Drop-In 720*480 kit | 60€ |
| eXtremeRate IPS Ready Upgraded Replacement Full Set Shells - Scarlet Red | 24€ |
| GBA SP 850mAh Rechargeable Lithium-ion Battery | 13€ |
For the screen, if you want to be able to control the screen brightness and/or enter the OSD (On-Screen Display), you'll need to make use of a soldering iron. If, on the other hand, you don't mind using the touch sensor that sits on the bottom part of the screen to adjust the brightness, then you can simply drop in the screen in the display casing. Regarding the shell, be extra careful when screwing everything together as the surface can be easily scratched and leave a noticeable mark on the casing. Lastly, replacing the battery is as easy as it sounds: simply remove the old battery (if necessary), and drop the new one in.
In total, I spent a little over 100€ to go on a nostalgia trip and make my childhood self a happy kid 🎉
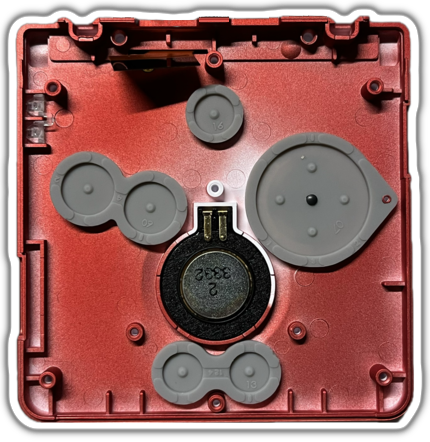
New screen fixed in the top display housing, replaced L and R buttons, new buttons, button pads, and OEM speaker.
Time to play
I am quite happy with how this project turned out, the console looks completely new (though not at its core 😉). Time to play some Pokémon! If you give it a shot at home, let this post be proof that anyone with a bit of patience and determination can pull it off!
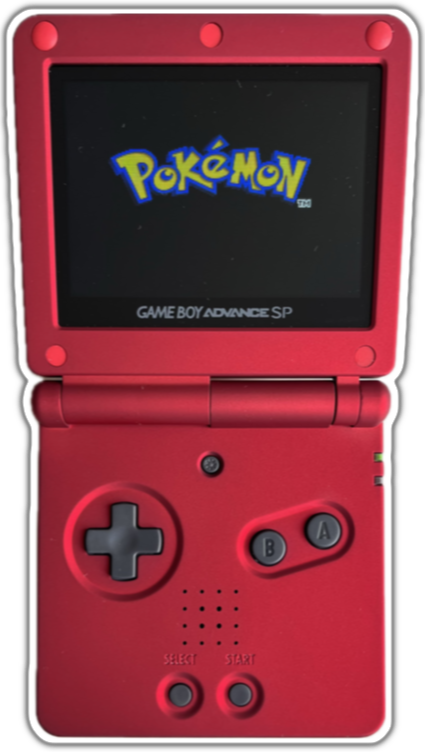
End result of refurbishing my GBA SP.